Guide
Facade Design: How to Visualise Options Before You Commit
Facade design is the decision people live with longest and see least clearly beforehand. A brick sample, a cladding board and a roof tile each look fine in a showroom, yet none of them shows how the three will sit together on a two-storey front, under a particular roof, with a garage door beside the entry. A 3D render closes that gap before anyone orders materials or signs a contract.
This guide is for home builders presenting a facade range, building designers and architects showing a client the choices, and owners deciding between schemes for a new build or a major renovation. It covers what a facade render needs to show, how option sets are built so the comparison is fair, how to brief them, how many views you need, how they are priced, and where estate design guidelines come in. It is about visualising facades with 3D rendering, not about cement rendering as a wall finish.

Written by Shrey Agarwal, Founder & Studio Director at Build3DRender
Published 8 November 2026
Step 1
Fix the design before the options
Settle the floor plan and the massing first. Facade options compare finishes and features on a design that is already decided, so they cost least when only materials change.
Step 2
List the variables
Write down what can change: brick or cladding type, render-finish panels, roof profile and colour, window and door colour, garage door, entry feature, fence and planting.
Step 3
Choose one camera per house
Pick the angle that shows the front best, usually a low frontal or slight three-quarter view, and keep it identical across every option.
Step 4
Send drawings and a finishes schedule
Provide elevations, the floor plan, roof plan, site plan and a schedule naming every external material with supplier codes or samples.
Step 5
Mark up the first draft together
Review the draft render with materials and lighting close to final, mark up changes in one consolidated list, and use the revision rounds for choices, not for new views.
Step 6
Check the estate guidelines
Where the lot sits in an estate, compare the chosen scheme with the design guidelines before the images go into a sales pack or an approval submission.
What a facade design render has to show
A facade is a combination, and the combination is what a render tests. Wall materials set the character: face brick, fibre-cement weatherboard-style cladding, timber or timber-look boards, and render-finish panels can all appear on one front. The roof is the largest surface and often decides the colour balance, so profile, tile or sheet type and colour belong in the view rather than a note beside it. Then come the smaller items that signal quality: window frame colour, front door, garage door, gutters, downpipes, entry canopy or portico, letterbox and house number.
The surrounding picture is part of the design too. A driveway surface, a fence, a lawn edge and the planting beside the entry change how the front reads, and a facade shown on bare ground in the sales brochure will look different on a landscaped lot. We build those items in at the size your landscape plan specifies.
A good facade render also holds light and camera still. The sky, sun direction and eye height are fixed, so the viewer compares materials and not conditions. That sounds obvious, but it matters: if one house is drawn on a brighter day, it looks better for the wrong reason.
Facade options and colour schemes on one view
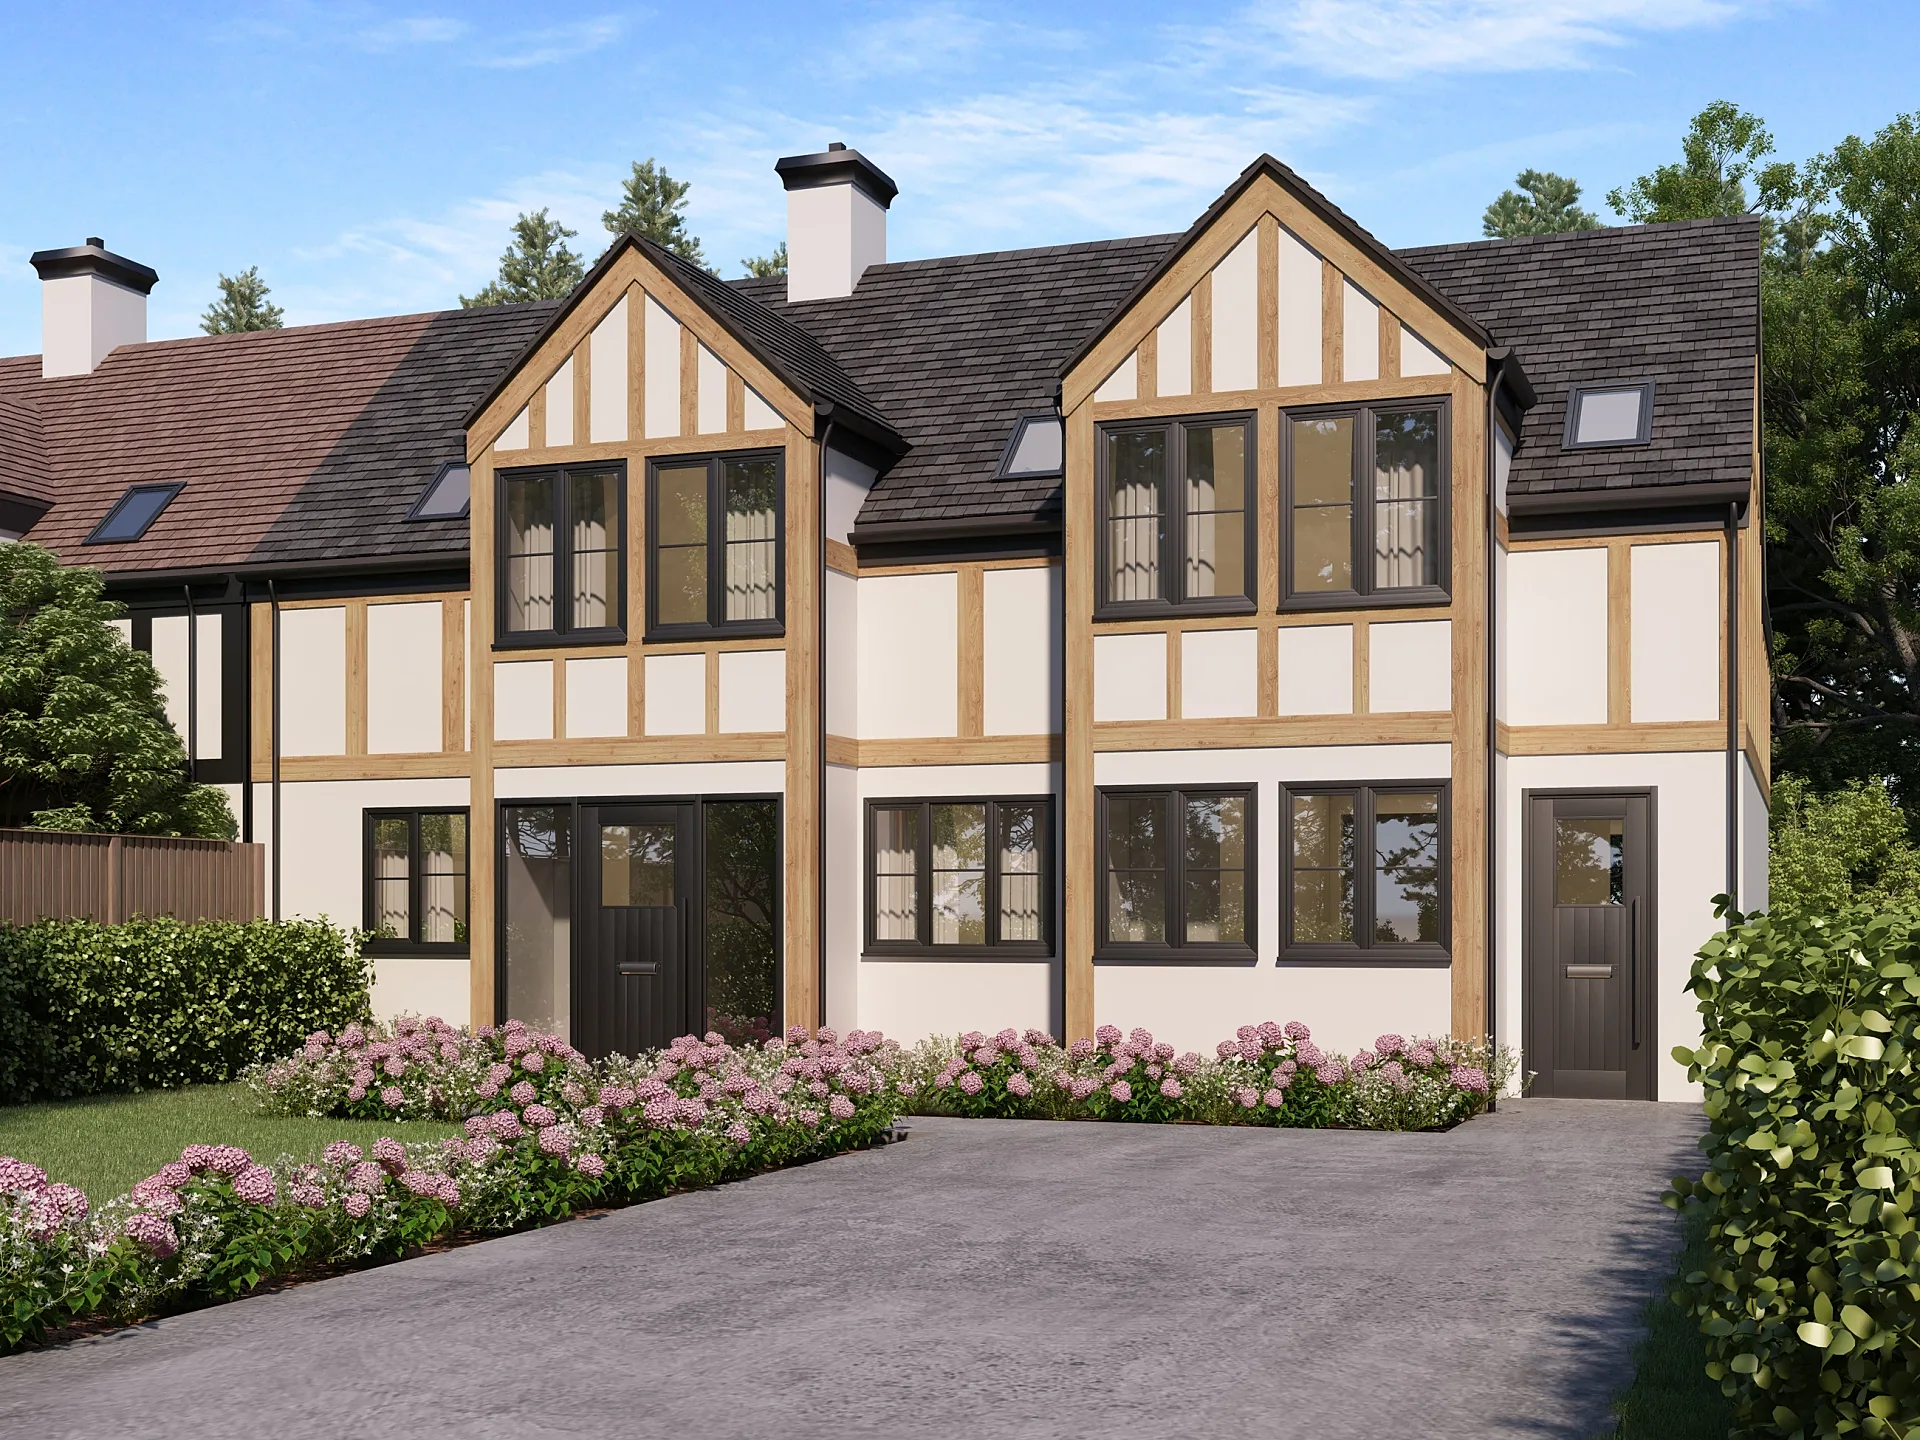
The efficient way to compare options is to model the front once and change only the material you are testing. Our Facade Colour Options Study is the plainest example. One front view of a period-style home, with oak-toned timber framing, pale render panels between the frames, twin gables and a dark roof with two chimneys, was rendered three times with black, grey and white windows and doors. Nothing else moved. Black outlines each pane and gives the front a sharper, more graphic look, white recedes into the render panels, and the grey sits between them. A sample card cannot show that, because the effect comes from how the colour behaves against the other materials.
The same method works for any single decision: render colour, brick type, roof colour, a garage door finish, a feature entry or fence style. Once the model and camera exist, each extra variant is a material change rather than a new view, and that is why it is quoted as a variant.
Colour schemes are better compared as whole sets than as separate tweaks. A builder usually offers a handful of named schemes, each defining walls, roof, trims and door together, so the render shows each scheme as one image. If you are asking an owner to choose between schemes, keep the number small. Three clear options are easier to decide between than eight near-identical ones.
How builders present a facade range for one floor plan
Home builders sell a floor plan with several fronts. The same plan might be offered with a gabled front, a flat-roofed contemporary front and a traditional brick front, and a buyer wants to compare them without imagining the difference. The way to present that is one render per facade, from one fixed camera, at the same time of day.
Our Standard House Type Range project shows the second use of the method, across an entire range. Each house type, whether terraced, semi-detached or detached, was modelled once and rendered twice, in a rendered acrylic finish and in timber cladding, with the same camera, light and planting in each pair. A street scene in each finish then shows the range together. The lesson is that a facade range is a grid: house types in one direction, finishes in the other.
Our Builder Facade Range project is the opposite case, where the house types differ but the style is shared. Six lots each received a front view with the same brick, roof tile and window frame colour, a low frontal camera and matching sky, so the buyer compares the houses and not the renders. Brick panels, bay windows, corner windows and gabled porches create the variety, and the set is only credible because the styling is held constant.
If you are building a facade range for a website, a display home sales centre or a house-and-land flyer, agree the grid before the first image. Decide which houses get which facades and which finishes apply to each, and the 3D house rendering service can take the drawings from there.
How to brief facade options
Start with elevations and a finishes schedule, because the render is only as accurate as the information behind it. Elevations for all four sides help even when only the front is shown, as the corner view reveals the side wall and the roof returns. Add the site plan, the roof plan and the landscape plan if one exists. Name every external material, with a manufacturer code or a physical sample for brick, tile, cladding and paint. If an option is a placeholder, say so.
Then tell us what is being compared. Write the variables in a list: this brick or that, this roof colour or that, the black window frame or the white one. State which are fixed, and say whether the images are for sales, a client decision, a planning submission or the estate's design approval, as the audience changes the camera and the planting.
Finally, give a decision date. Facade choices usually sit ahead of an order for bricks, windows or roofing, and that is the real deadline. We work back from it: the first stage is a draft render with materials and lighting close to final, then your consolidated mark-ups, and up to four revision rounds are included. Our briefing guide covers the files in more detail, and the turnaround guide shows how long each stage takes.
How many views does a facade need?
One house, one decision: a single front view. When the choice is between materials or colours, one frontal view is enough, and extra angles add cost without helping the comparison.
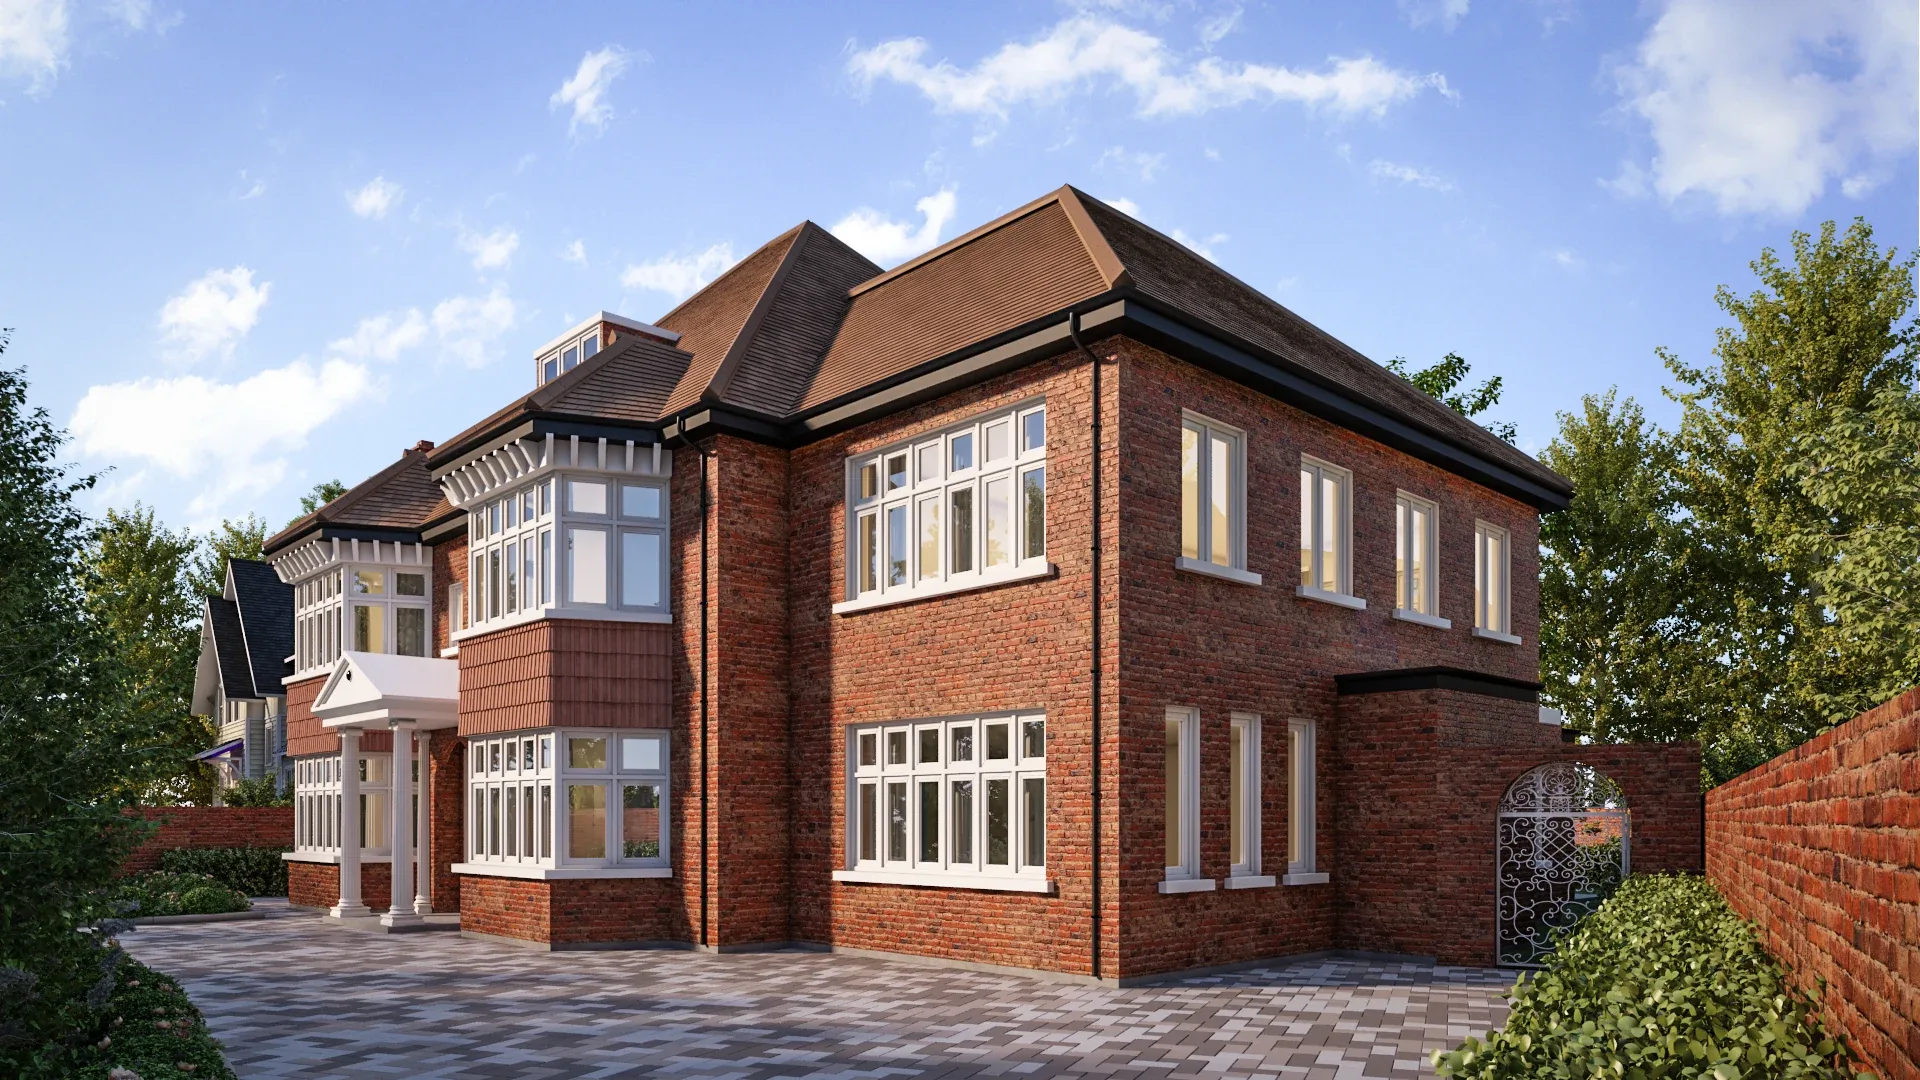
One house, a client who wants to be sure: a front view and a front three-quarter. The three-quarter shows how the front meets the side, the garage and the roof returns, which a flat elevation hides. Our Period-Style Detached Home project illustrates a fuller version, with a front elevation, a front three-quarter, a rear garden view and a side terrace, shown for a presentation to the family and the builder. A red-brick house with white-framed bay windows, a columned portico, a hipped roof and a wrought-iron gate looks different from each position.
A range: one view per facade, plus a street scene. For several houses on one street, a single street-level image helps a buyer see how neighbouring fronts sit together, and the same view is useful when a council or estate wants to see variety along a frontage.
How facade option sets are priced
Exterior images start from A$445 per view. That covers a single image from drawings, with a draft render for feedback and up to 4 revision rounds. Sets of five images or more are priced as a package, and a facade range is usually quoted as a set from the drawings.
The price structure matters more than the starting number. A new view is a new camera, new landscaping and new lighting, so it costs most. A material variant of a view that already exists, such as a different brick, roof colour or window colour, reuses the model and the camera and is priced as a variant, which is why it costs less. That is the reason to fix the design first and compare materials second. Changing the massing after the first draft turns variants back into new views.
For a builder, the most economical way to cover a range is one house type modelled once and finished in each facade, not each facade modelled from scratch. For an owner, the economical route is to decide the camera, make the list of variables, and send it all in one brief. Sets are quoted from the drawings, so send them before budgeting.
Estate design guidelines and council requirements
Facade choices can have to clear someone other than the owner. Some house-and-land estates publish design guidelines, and the guidelines we checked include approval from the developer or a design review committee before building starts, rules on materials, colours and roof pitch, and in some estates limits on repeating the same facade within a few lots of each other. Guidelines can form part of the contract of sale, so read them before you pick a scheme.
That approval is separate from council. A developer's sign-off on a facade does not replace a development approval (a planning permit in Victoria) or a complying development certificate (NSW) where one is needed, and the reverse is also true. Your builder, building designer or certifier will know which applies on your lot. Rules differ between estates and councils, so check your own guidelines and do not rely on a general summary.
A render helps here as supporting material: a clear image of the front, with materials named, is easier for an approval panel to assess than a drawing alone. If an image is going to an application, tell us when briefing, because planning views are built differently from marketing views. Our guide to renders for development applications explains the difference.
When to use 3D house rendering for a facade
Use a 3D house rendering when a decision rests on how a whole home looks, such as a new build, a first-floor addition, a facade refresh or a range of fronts for sale. Use 3D exterior renders when the building is not a house, for example a townhouse group or a commercial front.
Do not use one for a decision a sample can answer. A single paint colour on an existing wall is often better judged on the wall itself. Render when materials interact, as brick against cladding or a roof against a window frame, or when the design does not exist yet.
Questions
Frequently asked questions
Facade design is choosing the materials, colours, roof and features of the front of a building. Facade rendering, in the sense used here, is producing 3D images of those choices. In Australia, facade render can also mean cement rendering on a wall, which is a separate trade and not what we do.
Three clear options are usually enough for an owner. A builder's range may need one view per facade, and a house type offered in two finishes needs two images. More options mean more images and a harder decision.
Exterior views start from A$445 each. A material variant of a view that has already been modelled costs less than a new view, and sets of five images or more are priced as a package, quoted from your drawings.
Elevations for all sides, the floor plan, roof plan and site plan, and a schedule of external materials with codes or samples. Add the landscape plan if you have one, and a list of the options you want to compare.
Standard delivery is 5–7 business days from an approved brief, including a draft render for feedback, and up to 4 revision rounds are included.
It can support a submission by showing the materials and colours clearly. It does not replace the estate's or council's own requirements, which vary, so check the guidelines in your contract of sale and tell us if the image is for an approval.
Yes. Send the existing elevations and photographs of the house, plus the proposed changes, and we model the new front. A facade refresh works the same way, and the variant approach applies to colours, cladding and roof options.
Services
Commission a render
3D Exterior Rendering
3D exterior rendering and facade visuals for Australian developers, builders and architects.
from A$445 per image
3D Interior Rendering
3D interior rendering for Australian architects, designers and developers.
from A$345 per image
3D Architectural Animation
3D architectural animation, walkthroughs and flythroughs for Australian developers and architects.
from A$65 per second (min. 30s)
3D Floor Plans
Furnished 3D floor plans, colour 2D plans and site plans for Australian property marketing.
from A$445 per plan
3D House Rendering
3D house rendering for Australian builders, display villages and custom-home architects.
from A$445 per image
Townhouse & Duplex Rendering
Townhouse and duplex 3D rendering: streetscapes, dwelling types and interiors for launches and planning, from A$445 per image.
from A$445 per image
Apartment Rendering
3D apartment rendering for Australian developers, marketers and architects, from your drawings.
from A$445 per image
Granny Flat Rendering
Granny flat and secondary dwelling 3D renders for Australian builders: the real backyard, compact interiors and site plans, from A$445.
from A$445 per image
3D Aerial Rendering
3D aerial rendering for estates, townhouse communities and industrial parks, from your site plan.
from A$795 per image
Architectural Photomontage
Architectural photomontage and verified views for DAs, objections and lot sales, built into your site photographs.
from A$445 per standard planning render
Hospitality Interior Rendering
Hotel interior rendering and hospitality visualisation for developers, operators and designers.
from A$345 per image
Virtual Staging
Virtual staging for Australian real estate agents, build-to-rent teams and stylists, from your listing photos.
from A$95 per image
3D Product Rendering
3D product rendering for Australian furniture, joinery and building-product brands.
from A$345 per image
Commercial 3D Rendering
Commercial 3D rendering for retail, office, hospitality and industrial projects across Australia.
from A$445 per image
More guides
Keep reading
3D Rendering From House Plans: Turning Your Drawings Into Photoreal Images
Turn house plans into a photoreal 3D render: which drawings to send, how the view and finishes are chosen, prices from A$445 ex GST, 5–7 business days.
Renders for a Development Application: What Councils and Panels Expect
What councils and panels expect from renders for a development application, state by state, and how a photomontage becomes a documented verified view.
What Is 3D Rendering?
What 3D rendering is, how it differs from photography, when to use it, how it is made and when it is worth commissioning — by a working rendering studio.
3D Rendering for Real Estate and Property Developers
How Australian developers and agents use 3D renders for off-the-plan marketing: which images to commission, when, what they cost and what moves stock.
How to Brief a 3D Render
What to send a rendering studio — drawings, finishes, references, deadlines — plus a briefing checklist that gets a better render with fewer revisions.
How Long Does 3D Rendering Take?
Realistic 3D rendering turnaround times in Australia for stills, floor plans, aerials and animation, stage by stage, plus what makes a render run late.
Get a fixed AUD quote within one business day
Send us your plans, elevations or even a sketch. Exterior renders from A$445, interiors from A$345, delivered in 5–7 business days.